Select and Cut a Thumbnail Segment
Use the button if you need to cut certain portions out of an uploaded video such as sensitive company data or information that is not relative to what you want to show with your content. Once you have cut the video, you may save it as an entirely new video in Rev.

To select and cut a thumbnail segment of a video:
1. Select the video you want to edit and click the icon on the Video Player.
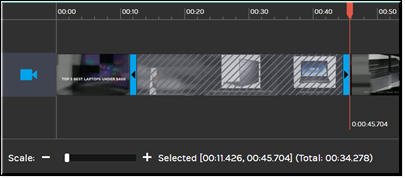
2. Select the thumbnail segments of the video you want to cut using the timeline. If you need to see more granular detail for your cut, use the slider.
3. You may make your selection in one of two ways:
○Use Shift-Click. Left click on the timeline or thumbnail segment to set your cut starting point and then shift-click on the timeline or thumbnail segment to set your cut end point. Your video segment will be defined by two blue endpoints with the segment to be cut grayed out.
○Click and drag. Use your mouse and left click and drag over the thumbnail segment you want to cut. Your video segment will be defined by two blue endpoints with the segment to be cut grayed out once you release the mouse button.
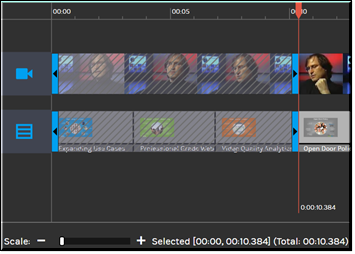
○If chapters with slides or images have been defined in the video, they will automatically selected as well.
4. Notice to the right of the slider, the start and end point time of the selected segment is noted along with the total time of the segment.
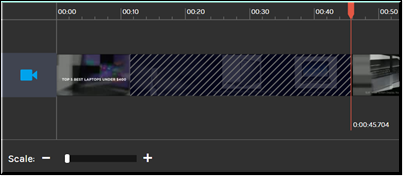
5. Use the button to remove the selected segment from the video. The blue endpoints will be removed and the time notations will be gone next to . The grayed out thumbnails will remain, however, so you are easily able to see what portions of the video have been edited from the original.
6. Use the button on the Video Player to view the video before saving to make sure your cuts are correct.
7. Use the button if you want to undo the cut to the thumbnails. Undo will only undo the most recent cut.
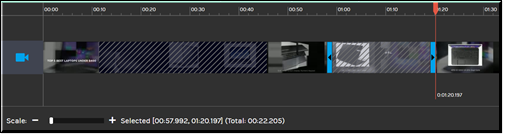
8. You may make more than one cut to thumbnails in a video. After your first cut, for example, you may make another segment selection to cut.
9. Use the button at any time to undo all changes you have made and reset the video to its original state. This will only work if you have not saved the video.
10. Click the button to save the video. Note that this saves the video and replaces the original video. If you want a copy of the original video, you should always use the Download video to download it first before you do any editing.
11. The saved video will be retitled with the same name and the word "Edited" appended. Further, the of the edited video will note that the video has been edited. Metadata and analytics will remain unchanged.
| Note: If the video and user previously required approval, the video must be submitted and go through the approval process again before it will be Active. |
| Tip: You may also click and drag on individual chapters to move them. The timeline will adjust accordingly. |