Add PowerPoint Presentation Chapters to a Video
Use the dropdown to add PowerPoint presentation chapters to a video. Adding chapters to a video allows other Rev users to jump to specific locations on the video’s timeline that you have defined. This is beneficial in that if you have a long video, you can create named chapters to allow immediate access to content users may be looking for rather than forcing them to view or search the entire video with no directional assistance.
When you use a PowerPoint presentation to define your chapters, each slide becomes a chapter on the timeline and the chapter is named based on slide title. Further, the presentation is synced across the length of the video automatically upon upload. You may modify and edit the presentation slides to suit your needs once the upload is finished. Once saved, Rev users may jump to a specific slide while viewing the video.
| Caution: Once you save any edited video, the original is lost. You are always advised to download a copy of the original first! |
You must have edit access to use this functionality. The icon will then be present on the Video Player.

To add PowerPoint presentation chapters to a video:
1. Select the video you want to edit and click the icon on the .
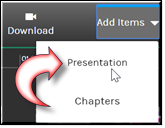
2. Click the dropdown on the buttons that appear and then select . Note, if the video already contains chapters, a PowerPoint presentation cannot be added. You may, however, change individual images by uploading an image.
3. You will prompted to upload a PowerPoint presentation file from your hard drive. Only files with the .ppt or .pptx extensions will be accepted for upload. A message will be displayed that the presentation is loading. While the PowerPoint is loading, you will not be able to edit the video.
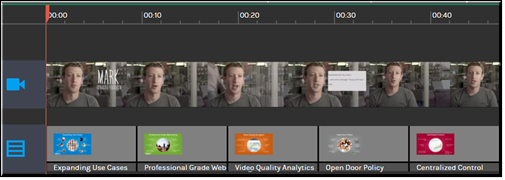
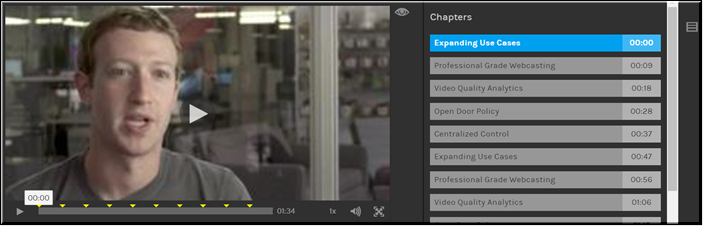
4. Once loaded, the first slide of the PowerPoint will begin at 00:00 on the timeline and the remainder of the slides will be spaced evenly across the span of the entire timeline.
5. The slide titles will become the name of the chapters and, if no slide title is available, the slide number will be used instead.
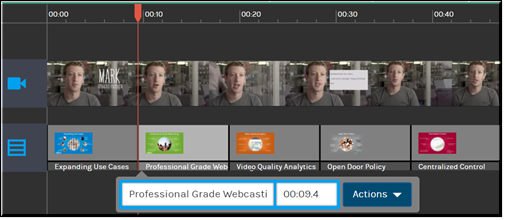
6. Click on a slide to edit its attributes such as slide name and time. You may also use the dropdown to replace the slide image, remove the slide image, or delete the slide chapter entirely.
7. Once you have finished editing, click the button. You may click the or button(s) at any time before you click to revert any changes you have made to the video.
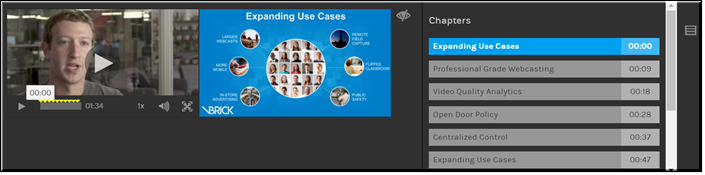
8. Users that view the edited video may now click on the icon to view and jump to the chapters that you defined.
9. When chapters are added to a video from a PowerPoint presentation, the slides are added as images, as seen in the image above. To disable chapter images during playback, use the toggle to the right of the image.
| Role(s): ●Account Admin ●Media Admin ●edit access |
See Also: